There are several ways to add fonts as plugins for the website or Google fonts, but in this case we will do it using the css code.
To start we will need a typography.
STEPS TO ADD A TYPOGRAPHY TO A WEBSITE
1. Get the necessary files for typography
We will use the transfonter.org website to convert our source.
-
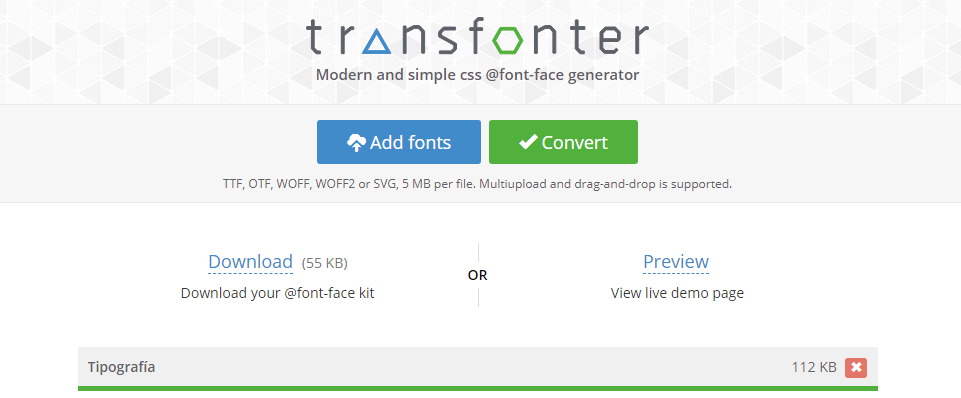
Once we have entered the page we will add our source in “Add fonts”.
-
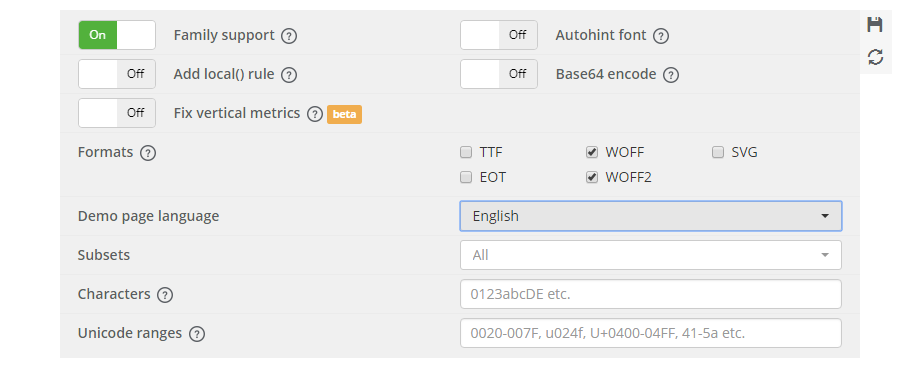
When we have the font loaded on the page, in its configurations in the “format” section we activate “WOFF” and “WOFF2”, this allows it to work in all the search engines, the other formats are used for different older search engines, in this case we have selected only WOFF and WOFF2 because these formats are accepted in the main search engines.
-
Declared the formats that we want we will click on “Convert”.
-
Converted the source will appear two options of which we will click “Download” to download the final files of our source.
-
When we download the file will be in ZIP format, nothing happens because what we do is copy the .WOFF and .WOFF2 files to our folder where we have the website.
-
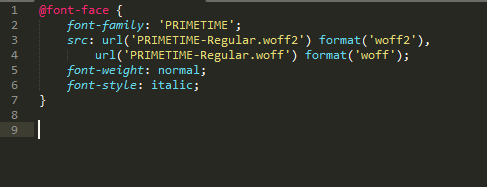
The last step will be to allow the web page to recognize these files, so we only have to enter the .css file of the ZIP and copy what it contains inside, once copied it will only have to paste it in the CSS file of our website.
CONGRATULATIONS, YOU ARE READY
With these simple steps, we have added our source to the website, and it only remains that you make the use you want.


