Introduction to Full Site Editing in WordPress
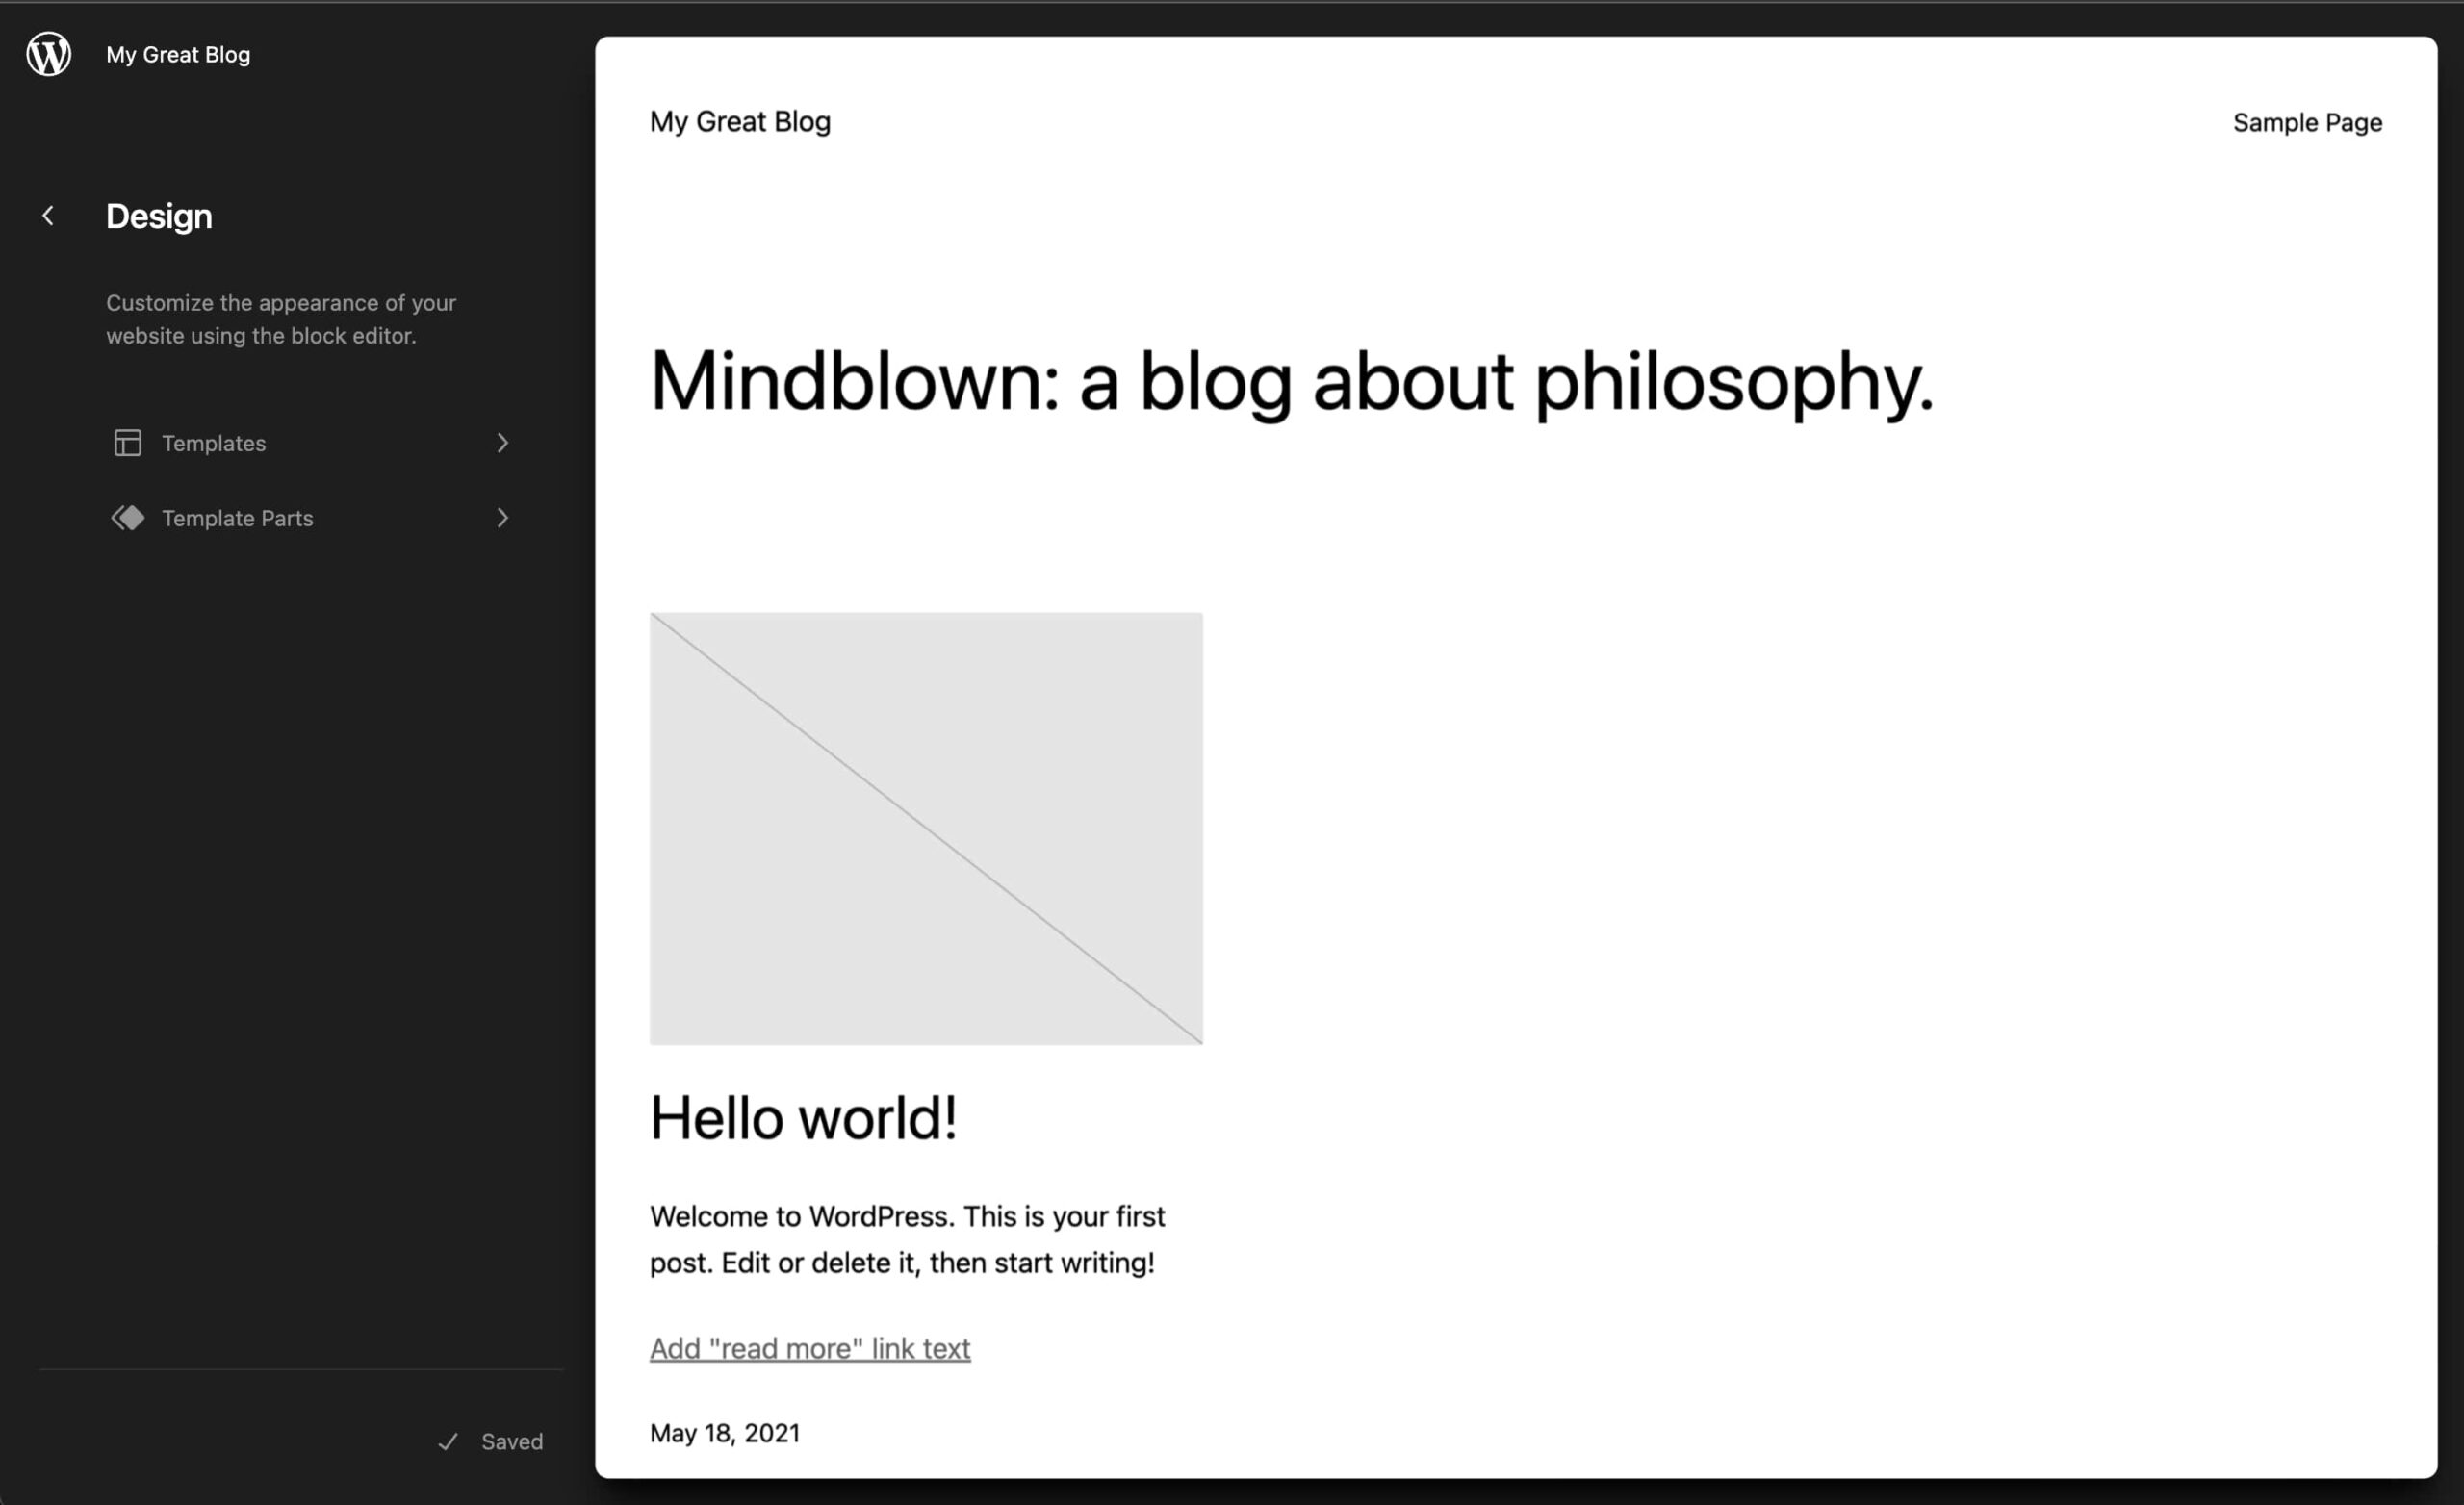
The Full Site Editing (FSE) or WordPress Site Editor is a revolutionary innovation in the WordPress world that promises to change the way we design and customize our websites. This feature, an integral part of Project Gutenberg, introduces a block-based approach to content editing and website design, allowing users to have complete control over the appearance and functionality of their pages.
With the Site Editor, users can easily customize different design elements such as headers, footers, sidebars and other components of their website. In addition, this tool offers the ability to create and modify templates, apply style changes globally and manage design settings in real time.
The main goal of the Site Editor is to simplify and enhance the WordPress web design experience, making it more accessible to users without advanced programming or web design skills. Through an intuitive and visual user interface, users can make design changes and see how they will look before applying them to the live website.
While the Site Editor is still under constant development and improvement, it has already shown great potential to revolutionise the experience of creating and customising websites on WordPress. Over time, it is expected to become a fundamental component of the platform, providing a simpler, faster and more efficient way to design attractive and functional websites.
Key features of the WordPress Site Editor
The Site Editor differs from the approach we are used to by presenting the following features:
1. Block-based approach
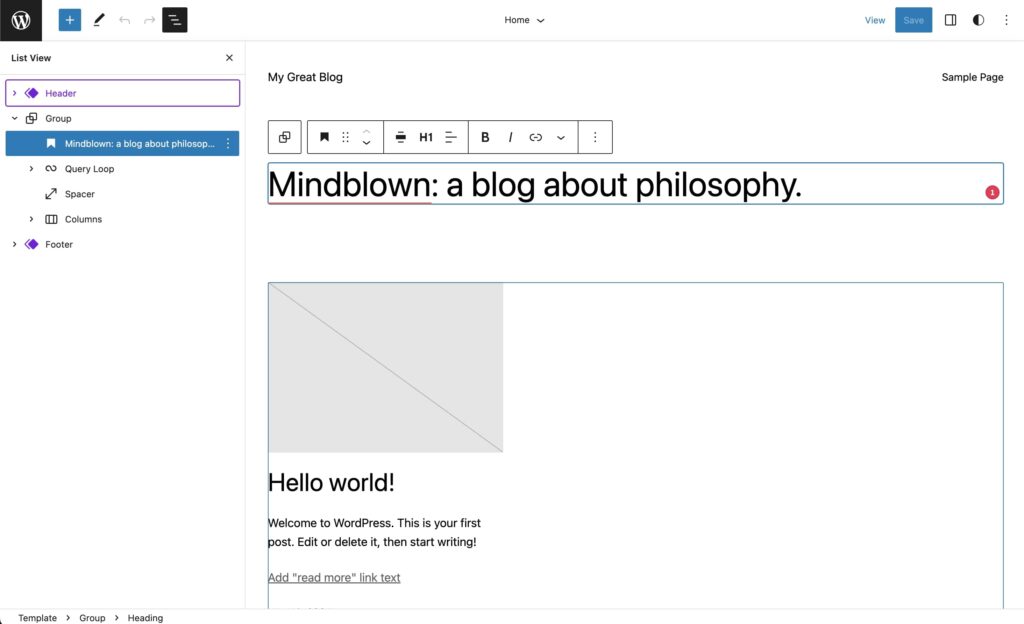
The Site Editor uses blocks to structure the content and layout of the website. These blocks are modular elements that can be easily dragged and dropped on the page, allowing for more intuitive editing.
2. Real-time visual editing
The Site Editor provides a real-time preview of changes being made to the website, allowing users to see how the changes will look before saving and applying them to the live site.
3. Creation and management of templates
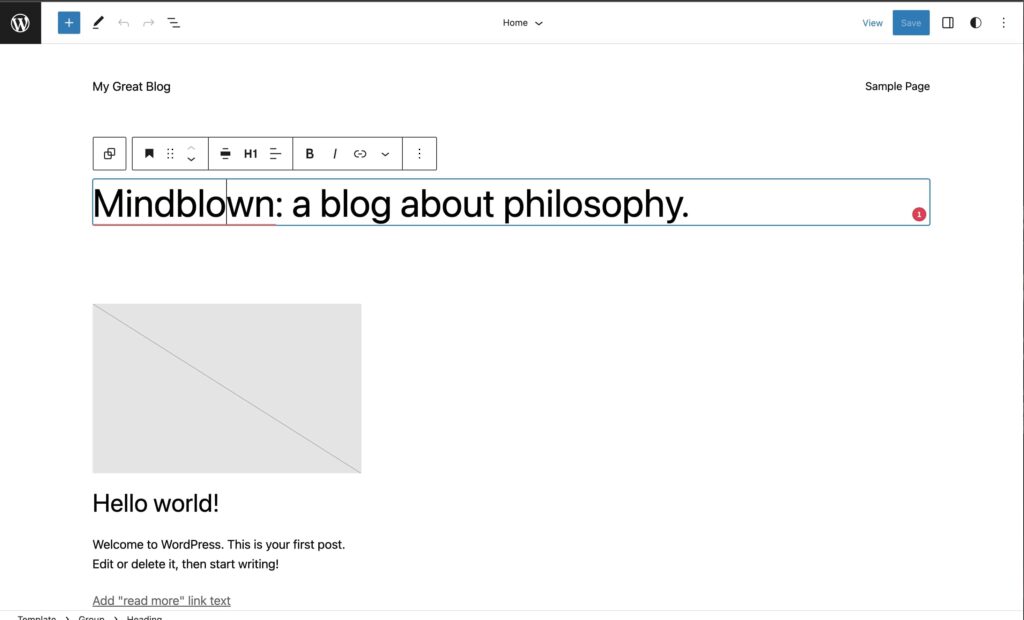
Users can create and modify templates for different parts of the website, such as pages, blog posts and files. In addition, it is possible to import and export templates for reuse in other projects.
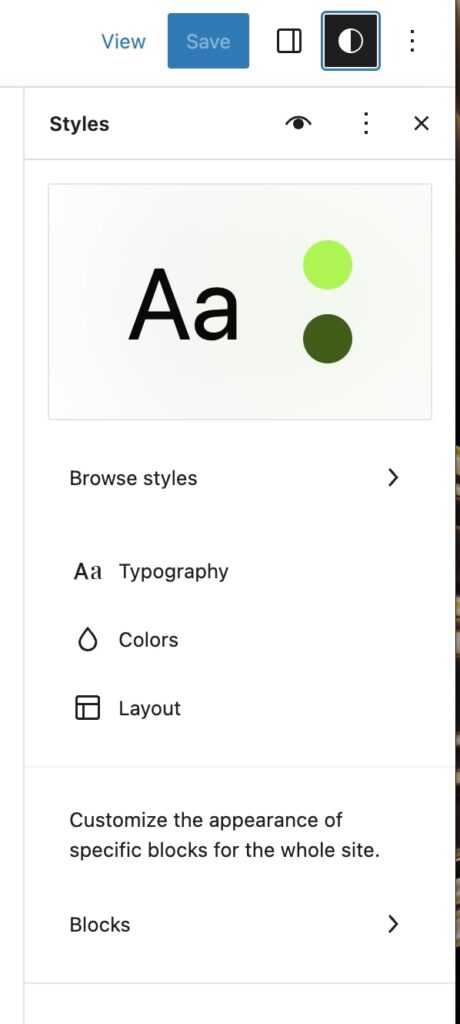
4. Global styles
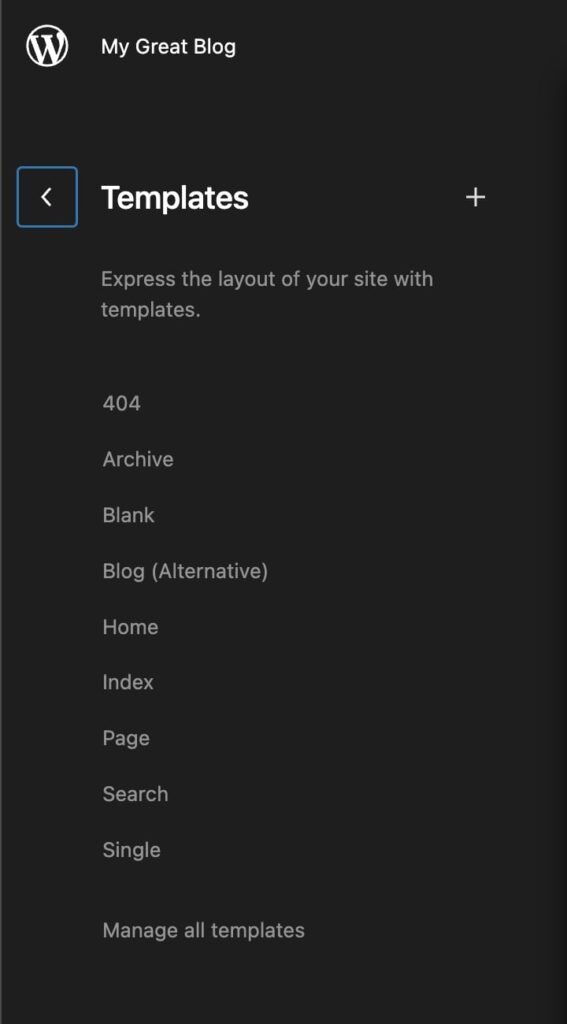
The Site Editor allows users to apply style changes globally to the entire website. This includes setting colours, fonts, spacing and other design elements, making it easy to create a consistent look and feel across the site.
5. Compatibility with themes
The WordPress Site Editor supports block-based themes, which allows users to take full advantage of the design and customisation features offered by the Site Editor.
6. Block patterns
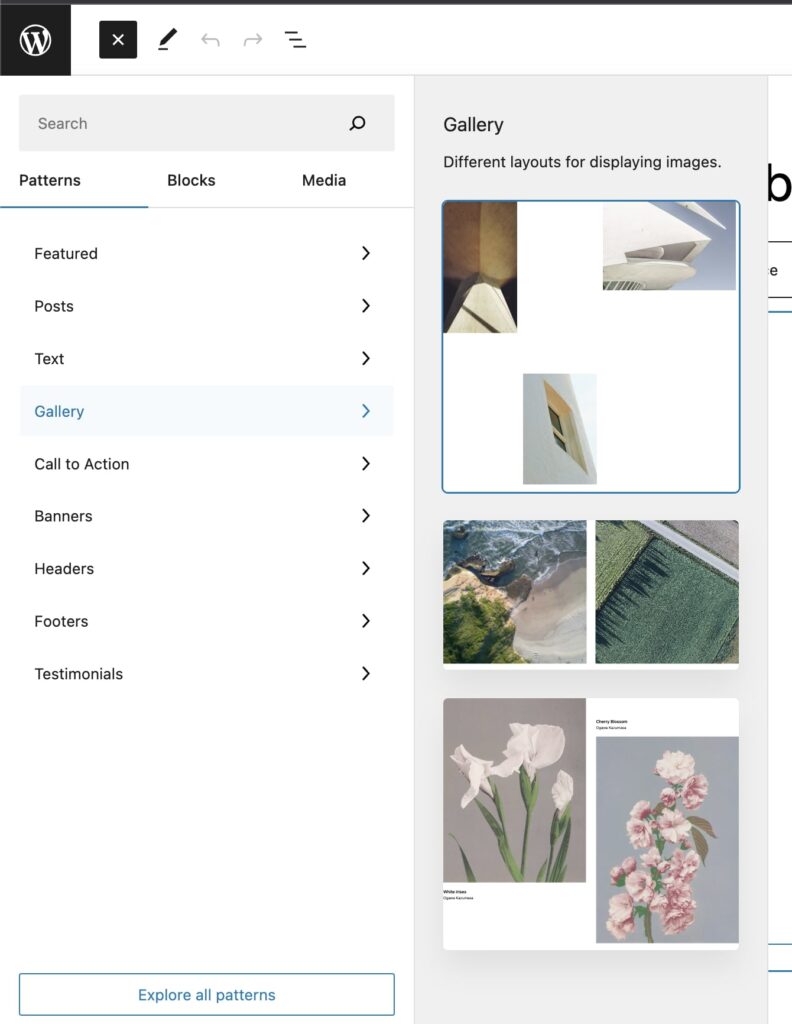
Block patterns are predefined sets of blocks that can be quickly inserted into a page, making it easy to create complex and attractive layouts. Users can choose from a wide variety of block patterns available in the WordPress repository, or create their own custom patterns.
7. Integration with other WordPress plugins
The Site Editor is designed to work in conjunction with other WordPress plugins, allowing users to extend the functionalities of their website and enhance their design experience.
8. Edit key elements of your website
Another important feature of the WordPress Site Editor is the ability to edit key elements of your website, such as the header, footer, and sidebars. This allows you to further customise the appearance of your website, which can significantly improve the user experience on your site.
9. Add custom tags and metadata
Finally, the WordPress Site Editor also allows you to add custom tags and metadata, which can significantly improve your website’s SEO. This can help your site rank higher in search engines and attract more traffic and visitors to your website.
Advantages and disadvantages of the WordPress Site Editor
To determine whether the Site Editor is the right choice for your project, it is advisable to assess both its advantages and disadvantages.
Advantages of the WordPress Site Editor
- Ease of use: Site Editor features an intuitive and visual user interface that makes it easy to create and edit websites even for those without advanced programming or web design skills.
- Advanced customisation: Thanks to its block-based approach, the Site Editor allows you to customise virtually every aspect of a website’s design, including headers, footers, sidebars and other elements.
- Template creation: Users can create and modify templates for different types of content, simplifying the creation of consistent designs across the website.
- Global Styling: The Site Editor allows you to apply styling changes globally, making it easy to maintain a consistent and coherent look and feel throughout your website.
- Real-time preview: Users can see how design changes will look before they are applied to the live website, allowing for easy adjustments and corrections.
Disadvantages of the WordPress Site Editor
- Learning curve: Although easy to use, the Site Editor may require time to become familiar with all its functions and features, especially for those used to using other editors or page builders.
- Incompatibility with certain themes and plugins: Some WordPress themes and plugins may not be compatible with the Site Editor, which may limit functionality or require adaptations to function properly.
- Performance: The use of advanced Site Editor blocks and features may affect the performance of some websites, especially if they are not optimised correctly.
- In development: Although the Site Editor has undergone significant improvements since its release, it is still under development and may present problems or limitations in certain situations.
In summary, the WordPress Site Editor offers a wide range of advantages in terms of ease of use and customisation, but it also has some disadvantages, such as a learning curve and potential compatibility issues. It is important to weigh these factors when deciding whether this tool is suitable for our WordPress web design needs.
How to use the WordPress Site Editor step by step
To get started with the WordPress Site Editor, follow this step-by-step guide, which covers everything from installing the Gutenberg plugin to customising various design elements:
Step 1: Choose a template compatible with the Site Editor.
There are different types of templates on WordPress, to be able to use the Site Editor, the theme has to be prepared for it, not just any theme will do. Classic Themes do not work with the Site Editor.
Step 2: Access the WordPress Site Editor.
Once you have installed the Gutenberg plugin, you can access the Site Editor from the WordPress administration panel. Go to “Appearance” > “Site Editor (beta)”.
Step 3: Getting familiar with the Site Editor interface.
When you enter the Site Editor, you will see a real-time preview of your website. On the left, you will find the tool’s panel with options to add blocks, access templates and configure global styles.
Step 4: Customise headers and footers.
To edit the header or footer, select the corresponding area in the real-time preview. A panel will appear with options to edit and customise the layout, such as adding or removing blocks, changing colours and adjusting spacing.
Step 5: Edit sidebars and other elements.
As with headers and footers, select the sidebar or other element in the real-time preview to access customisation options. You can add blocks, such as navigation menus, recent entries lists or custom widgets, and adjust their appearance and position to suit your needs.
Step 6: Create and modify templates.
The Site Editor allows you to create and edit templates for different types of content, such as pages, blog posts and archives. To access the templates, go to the tools panel and select “Templates” at the top. Here, you can view existing templates, create a new one or modify existing ones. When you edit a template, the changes will automatically apply to all pages or posts that use that template.
Step 7: Apply global styles.
To maintain a consistent look and feel throughout your website, the Site Editor offers the option to apply global styles. Go to the tools panel and select “Global Styles”. Here, you can adjust the typography, colours, spacing, and other design elements that will be applied throughout the site.
Step 8: Save and preview changes.
Before applying changes to the live website, make sure you save them and preview how they will look. You can do this by using the “Save draft” option and then “Preview” in the tools panel. When you are happy with the changes, select “Publish” to apply the changes to the live website.
Step 9: Explore blocks and patterns.
The Site Editor has a wide variety of predefined blocks and patterns to make it easy to create and customise designs. Take the time to explore these elements and discover how they can enhance the look and functionality of your website.
By following these steps, you can start using the WordPress Site Editor to customise and design your website efficiently and visually. Feel free to experiment with the different features and options available to create a unique and attractive design that suits your needs.
Tips and tricks to get the most out of Full Site Editing in WordPress.
- Familiarízate con los bloques: Dedica tiempo a explorar y entender los diferentes bloques disponibles en el Site Editor. Cada bloque tiene su propio conjunto de opciones de personalización y diseño. The more you know about the blocks, the easier it will be for you to create custom and attractive designs.
- Use block patterns: Block patterns are predefined sets of blocks that can be inserted into your design with a single click. Take advantage of these patterns to streamline the design process and maintain a consistent look and feel throughout your website.
- Create custom templates: Instead of editing the default templates directly, create custom templates for different types of content, such as pages, blog posts and files. This way, you can maintain a consistent design throughout the site and make future updates or changes easier.
- Optimise images: Website performance is crucial for user experience and SEO. Make sure you optimise the images you use in the Site Editor by reducing their file size and using appropriate formats, such as WebP.
- Learn how to use global styles: Global styles allow you to apply style changes consistently throughout your website. Familiarise yourself with this feature to facilitate customisation and maintain a consistent design across all pages.
- Keep plugins and themes up to date: Make sure to keep the plugins and themes you use on your website up to date to ensure good compatibility and performance with the Site Editor.
➔ Learn all about WordPress web maintenance here.
- Use the preview function: Before applying changes to the live website, always use the preview function to see how the changes will look and make sure there are no unexpected problems.
- Check out the documentation and resources: If you encounter difficulties or want to learn more about Full Site Editing, check out the official WordPress documentation.
- Full Site Editing and Gutenberg are constantly evolving and improving. Keep up to date with the latest updates, features and best practices to get the most out of this tool.
- Experiment and customise: Don’t be afraid to experiment with different blocks, patterns, and styles in Full Site Editing. The best way to learn and master this tool is to try different combinations and design approaches to find the look and functionality that best suits your website.
- Make backups: Before making major changes to your website design, create a backup copy so that you can restore it in case of problems or errors.
➔ Get to know WordPress security plugins and tricks
Frequently Asked Questions about the Full Site Editor for WordPress
Do I need to install a plugin to use Full Site Editing?
To access Full Site Editing, you must have the Gutenberg plugin installed on your WordPress site. Make sure your site is updated to the latest version of WordPress, and then install the plugin from the administration panel.
Is Full Site Editing compatible with all WordPress themes?
Not all WordPress themes support Full Site Editing. It is important to use a theme that offers support for Gutenberg and Full Site Editing to take full advantage of the features and functionality offered by this tool.
Can I still use other page builders with Full Site Editing?
Yes, you can still use page builders in conjunction with Full Site Editing, although some plugins may not be fully compatible with the Gutenberg block editor. It is important to check compatibility before using both tools together.
How does Full Site Editing affect the performance of my website?
Full Site Editing can affect the performance of your website t if it is not properly optimised. Be sure to optimise images, use efficient blocks and plugins, and keep your site updated to ensure optimal performance. Also, select Gutenberg and Full Site Editing compatible themes that are designed with performance in mind.
What is the difference between blocks, patterns and templates in Full Site Editing?
Blocks are individual content elements that can be added and customised in the block editor. Patterns are predefined sets of blocks that can be inserted into your design to facilitate the creation of common sections. Templates, on the other hand, are predefined layouts for pages or posts that you can customise and reuse throughout your website.
Do I need programming skills to use Full Site Editing?
No programming skills are required to use Full Site Editing. This tool is designed to be accessible and easy to use for users of all levels, without the need to write code. However, those with programming skills can find ways to further extend and customise Full Site Editing through custom code.
